How to Clean-Install Windows 11 from a USB Drive

Goal: a clean installation replaces the existing Windows installation with a fresh copy from bootable media. It can solve severe software corruption and is useful when repurposing a PC, but it can also erase applications, settings, and data if you choose the wrong partition. This guide focuses on preparation, disk identification, activation, drivers, and recovery so that the reinstall is deliberate rather than destructive.
Quick steps
- Back up every file you cannot replace and verify that the backup opens.
- Save your BitLocker recovery key and note the Windows edition currently activated.
- Create official Windows 11 installation media with Microsoft’s tools.
- Boot the PC from the USB drive in UEFI mode.
- Choose the correct edition if Windows Setup asks.
- Identify the target system disk carefully before deleting or formatting anything.
- Install Windows, complete initial setup, run Windows Update, then restore apps and data gradually.
Expected result: Windows 11 starts from a clean system installation, activates correctly when the device is licensed, and your backed-up data is restored only after the new installation is stable.
What you need before you start
- A verified backup on storage that will not be erased during installation.
- An 8 GB or larger USB drive that can be completely overwritten.
- The BitLocker recovery key for encrypted drives.
- Access to another Internet-connected device in case you need manufacturer drivers or recovery documentation.
- A record of the Windows edition currently installed: Home, Pro, or another licensed edition.
Confirm activation before wiping the system
Most modern PCs activate Windows through a digital license associated with the device hardware, but you should still record the installed edition before reinstalling. A Home license does not automatically activate Pro. You can check Settings > System > Activation and optionally use the following read-only PowerShell command to see the currently licensed Windows product entry.
Run it in PowerShell without changing any values. Administrator rights are not normally required for this read-only query.
Get-CimInstance SoftwareLicensingProduct |
  Where-Object { $_.PartialProductKey -and $_.LicenseStatus -eq 1 } |
  Select-Object Name, Description, LicenseStatus
Look for the licensed Windows product with LicenseStatus indicating an activated state. The command does not reveal a reusable full product key and does not modify licensing, so there is nothing to undo.
Create and test official installation media
Use Microsoft’s Windows 11 download page or Media Creation Tool. Avoid unofficial modified ISOs for a normal reinstall. After the USB has been created, test that it appears in the PC’s one-time boot menu and reaches the Windows Setup language screen. You can exit at that point without touching partitions.
UEFI and Secure Boot
A normal Windows 11 PC uses UEFI firmware and Secure Boot. Do not switch to legacy/CSM mode simply because a USB entry is missing. Recreate the media, try another USB port, and check the manufacturer’s boot-menu instructions first. Random firmware changes can make the existing system stop booting.
Before deleting anything: identify the target disk
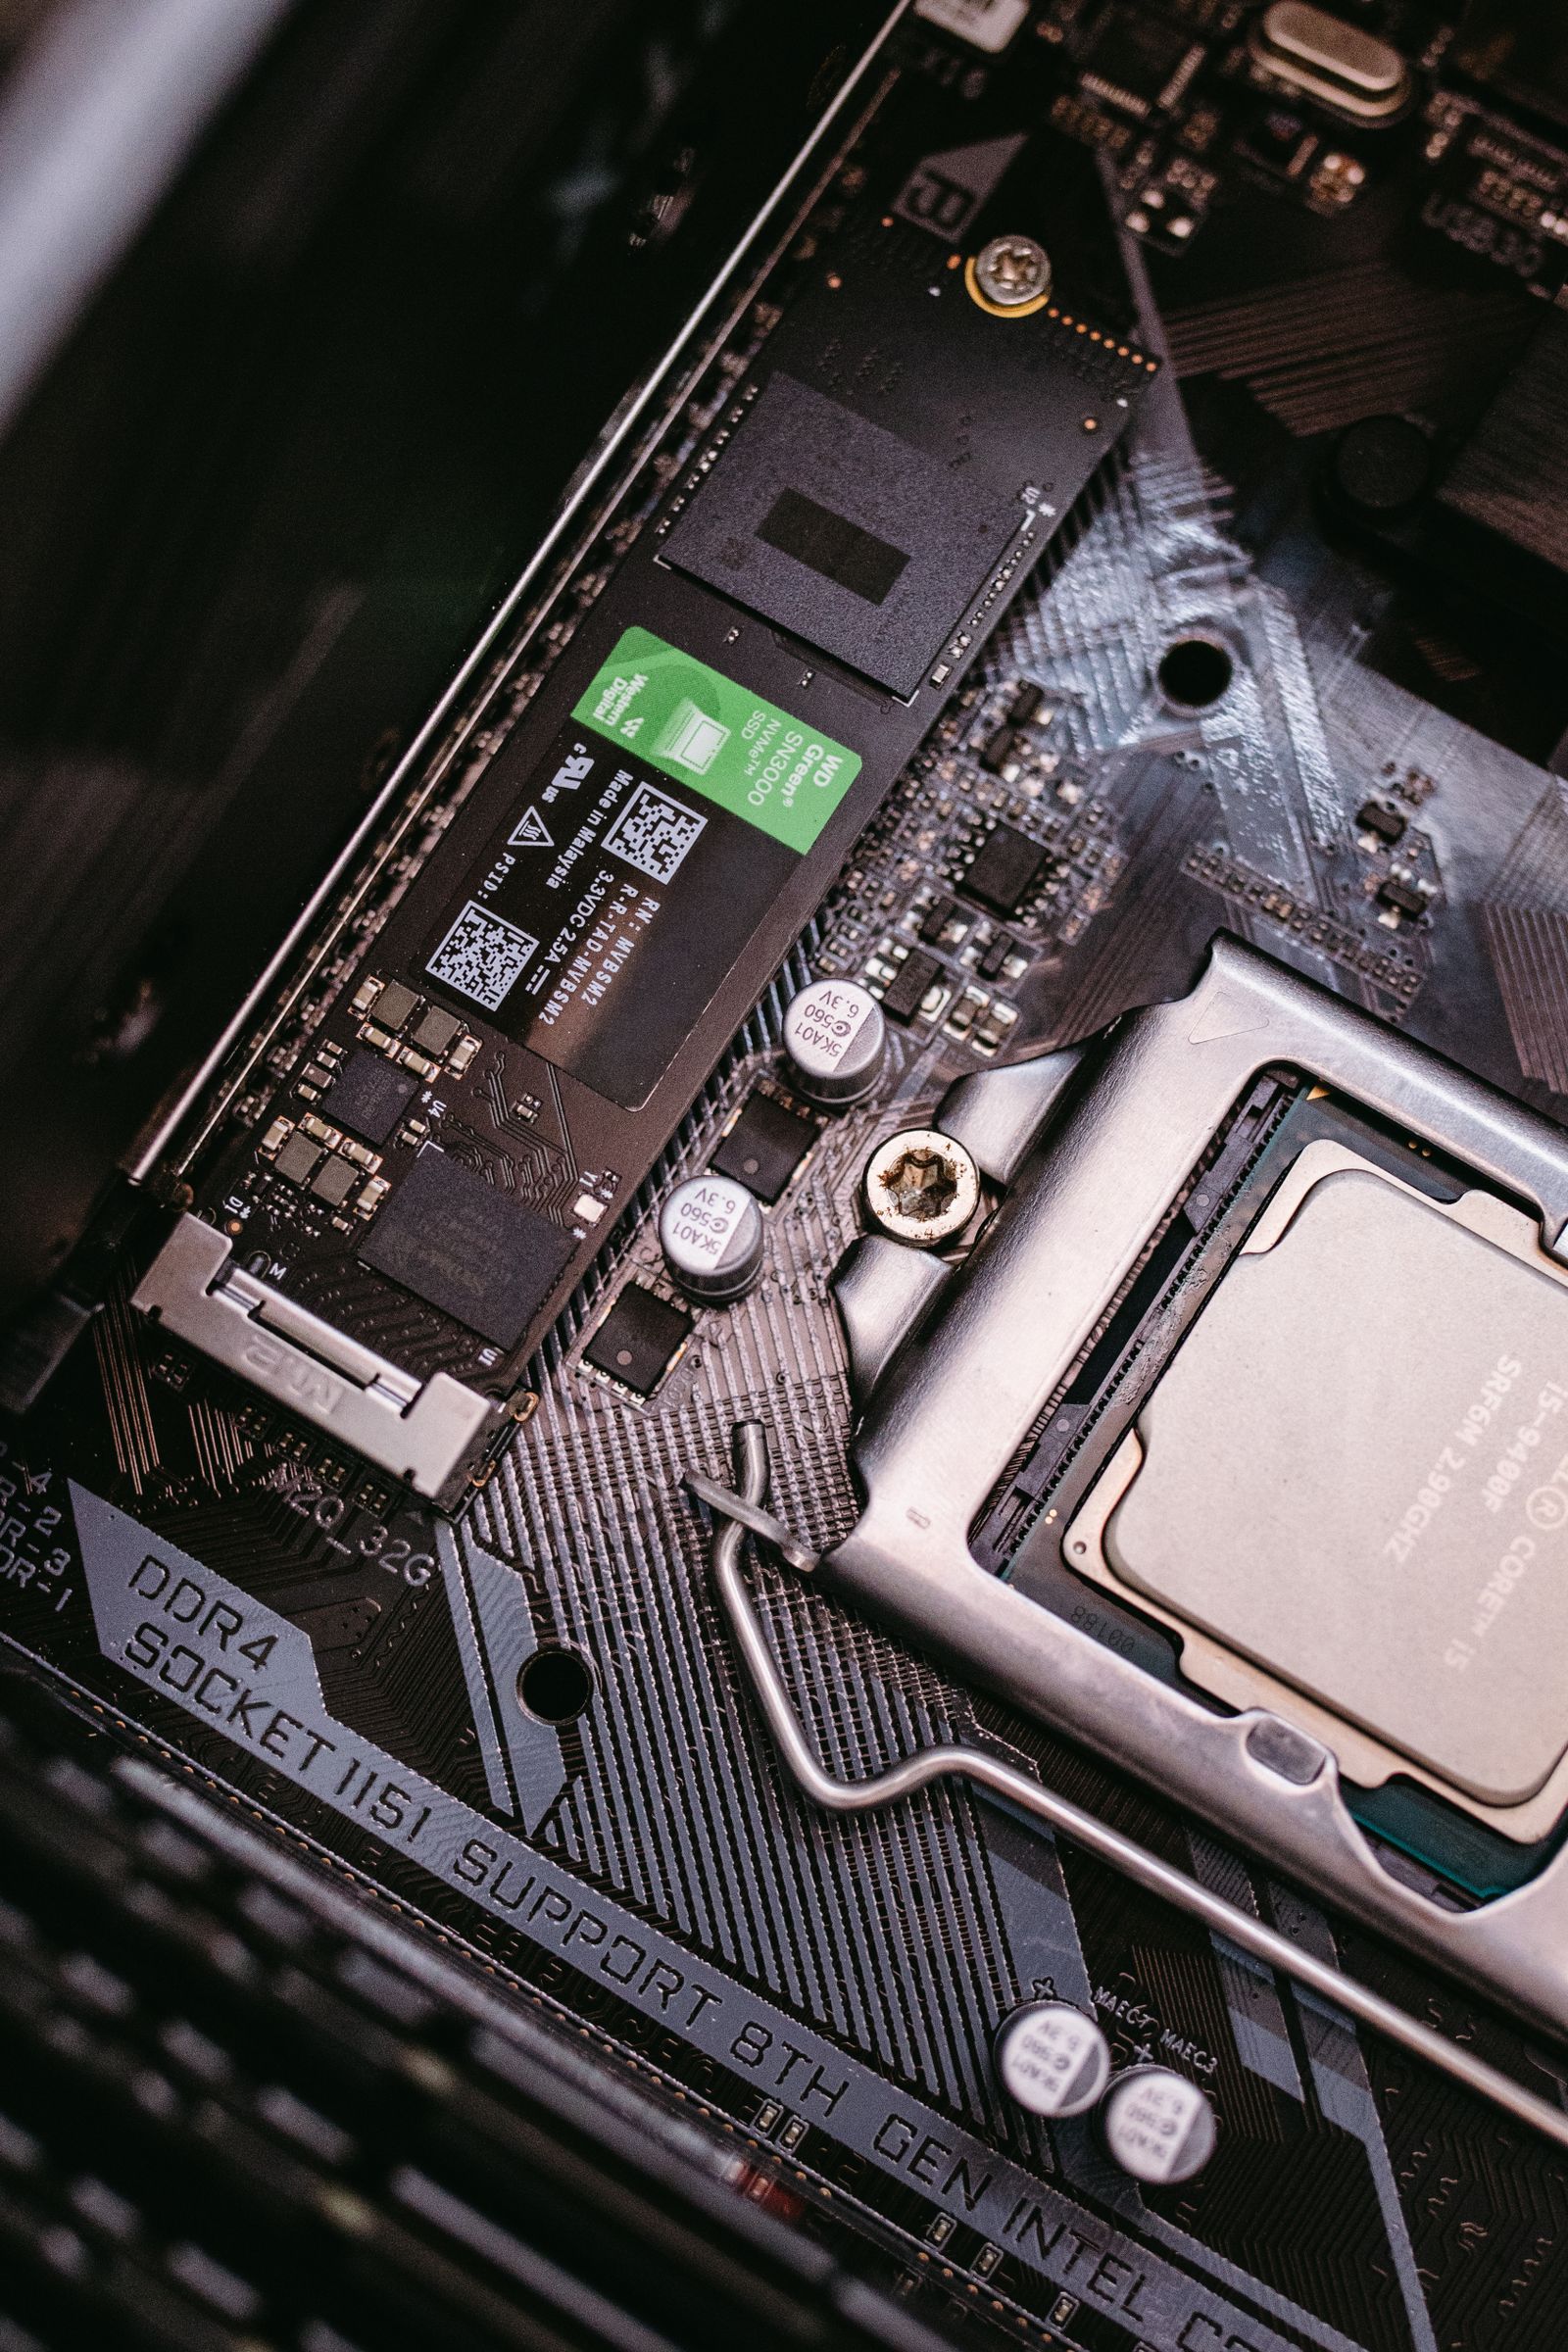
This is the highest-risk step. If the machine has more than one internal drive, do not rely only on “Disk 0” or “Disk 1.” Compare capacities, disconnect nonessential removable drives, and make sure the backup disk is not attached if there is any chance of selecting it accidentally.
Visible warning: deleting or formatting a partition destroys the data on that partition. There is no reliable “undo” once new data begins to overwrite it. If you are not certain which disk contains Windows, stop and verify before proceeding.
Clean installation procedure
- Insert the official USB and open the one-time boot menu for your computer.
- Select the UEFI entry for the USB drive.
- Choose language and keyboard layout in Windows Setup.
- Select Install Windows. Enter a product key only if you genuinely need to; devices with a digital license often reactivate automatically when the matching edition is installed.
- If asked for an edition, select the edition that matches your license.
- At the disk-selection screen, identify the system drive by size and layout. Do not touch other drives.
- If your intention is a truly clean install and your backup is verified, remove only the Windows system partitions on the confirmed target disk according to Microsoft’s procedure, then select the resulting unallocated space.
- Let Setup copy files and restart. When the first reboot occurs, do not repeatedly boot back into the USB installer.
- Complete the Windows out-of-box setup.
If the SSD does not appear in Windows Setup
Do not immediately change storage modes or wipe anything. Some systems use Intel VMD/RAID or another storage controller that requires a manufacturer driver during setup. Check the exact PC or motherboard model and follow the manufacturer’s official instructions. Switching RAID/AHCI/VMD blindly can prevent the previous Windows installation from booting.
After the clean install
- Open Settings > System > Activation and verify the expected edition is activated.
- Run Windows Update repeatedly until the system is current.
- Check Device Manager for missing or unknown hardware.
- Install only necessary manufacturer drivers that Windows Update did not provide.
- Reinstall core applications from official sources.
- Restore user data after the system has proven stable.
- Re-enable backup and create a fresh recovery strategy.
How to verify that it worked
- Windows boots from the internal disk without the USB attached.
- Activation reports the correct edition.
- Network, audio, graphics, storage, and sleep functions work.
- Windows Update completes without persistent errors.
- Your restored data opens correctly.
Common problems and fixes
- USB does not boot: recreate it with Microsoft’s tool, use the correct UEFI boot entry, and try another USB port.
- No internal drive appears: investigate storage-controller drivers before changing firmware storage modes.
- Activation fails: verify that you installed the edition matching the device license and that the PC is online.
- Setup loops back to the beginning: remove the USB or choose the internal drive after the first installation reboot.
- Data was not backed up: stop. Do not continue a destructive clean install until you have a safe copy or have decided that the data can be lost.
Safety and rollback
A clean installation has no simple rollback once the old partitions are removed. Your practical rollback is the verified backup and, where applicable, a full system image. Keep recovery keys and installers outside the target PC. If your objective is merely to repair Windows while keeping applications and settings, consider less destructive recovery options first.
Frequently asked questions
Do I need to buy Windows again?
Usually not if the same device already has a valid digital license and you reinstall the matching edition, but verify activation before wiping the system.
Should I format every drive?
No. Only operate on the confirmed target system disk. Other disks should be left untouched unless you have a separate, explicit reason to erase them.
Can I install without Internet?
Setup requirements vary by edition and current Windows build. Have network access available, but do not use unofficial bypass scripts simply to avoid a setup requirement.
Final checklist
- Backup verified.
- BitLocker key saved.
- Windows edition recorded.
- Official USB tested.
- Target disk identified by more than its disk number.
- Activation, updates, drivers, and restored files verified afterward.
Key takeaways
The method: prepare recovery information and backups first, use official Microsoft media, identify the correct disk carefully, then restore data only after the clean installation is stable.
The key principle: the dangerous part is not “installing Windows”; it is making an irreversible disk choice without a verified backup.
Official sources and references
- Microsoft Support — Official documentation
- Microsoft Support — Official documentation
- Microsoft Support — Official documentation
- Microsoft — Official documentation
- Microsoft Support — Official documentation
Image credits
- Photo 1 — Pexels · Pexels License.
- Photo 2 — Pexels · Pexels License.
- Photo 3 — Pexels · Pexels License.

Commentaires