How to Create a Bootable Windows 11 USB Drive Safely

Goal: create a Windows 11 installation USB that can boot a modern PC without accidentally erasing the wrong storage device. The safest approach is Microsoft’s official media-creation workflow, followed by a non-destructive boot test. This guide also explains ISO integrity checks, UEFI/Secure Boot, storage-driver issues, and how to reuse the USB later.
Quick steps
- Use a USB drive of at least 8 GB that contains no unique data.
- Confirm its capacity and disconnect other removable drives you do not need.
- Download Windows 11 installation media only from Microsoft.
- Use Media Creation Tool and select the correct USB drive.
- Wait until the tool reports that the media is ready.
- Open the target PC’s one-time boot menu and boot the USB in UEFI mode.
- Stop at the initial Windows Setup screen if you only want to test the USB.
Expected result: the USB appears as a UEFI boot device and reaches Windows Setup without modifying the internal disk.
What you need before you start
- An 8 GB or larger USB flash drive that can be erased completely.
- A Windows PC with a stable Internet connection.
- Microsoft’s official Windows 11 download page or Media Creation Tool.
- The target PC model if you may need storage or network drivers later.
Important: the media-creation process overwrites the selected USB. Copy anything important off the drive first and verify the drive’s capacity before confirming.
Use Microsoft’s official creation tool
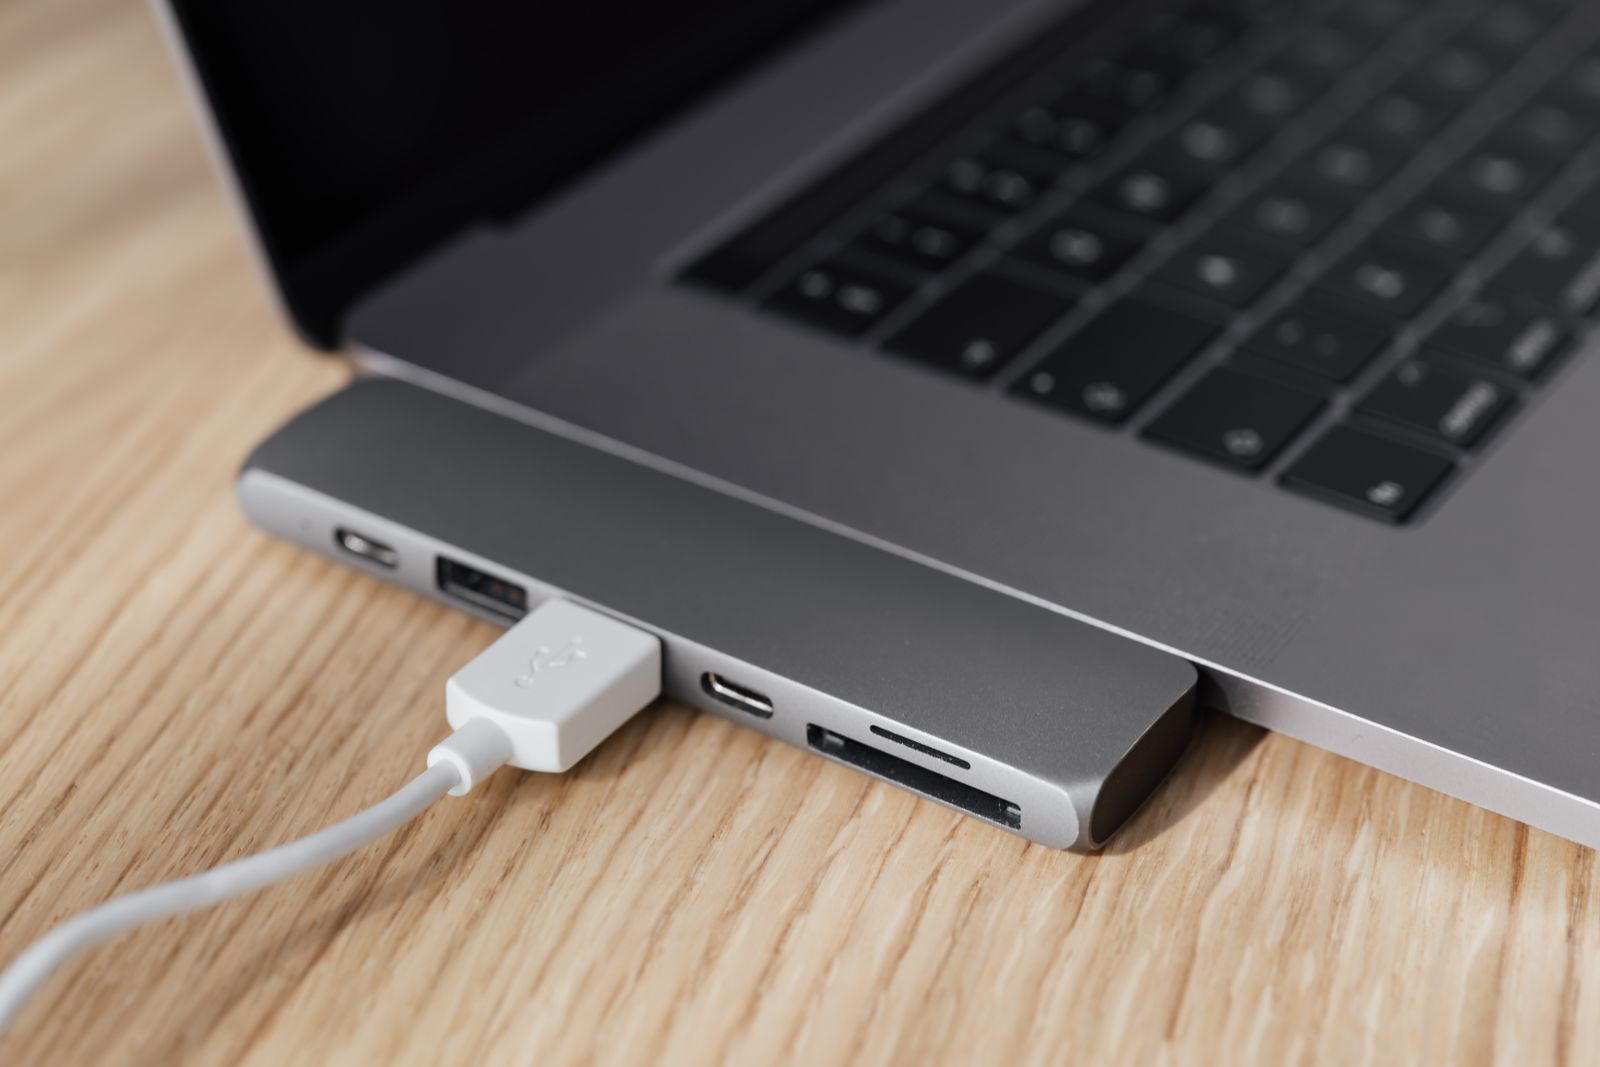
The graphical Media Creation Tool is safer for most users than low-level disk commands because it shows the removable device you are about to use. Download it from Microsoft, launch it, choose the option to create installation media, and select the USB flash drive. Do not use a random third-party “Windows ISO” website for a standard installation.
If you download an ISO, understand what a hash can and cannot prove
A SHA-256 hash can confirm that two copies of the same ISO are identical and can detect corruption. It proves authenticity only when you compare the result with a trusted reference value for that exact image. Run the following in PowerShell without administrator rights. Replace the path with the ISO file you downloaded.
Get-FileHash -Algorithm SHA256 "C:\PATH\Win11.iso"PowerShell returns a SHA-256 value. Compare it character-for-character with a trusted value if Microsoft provides one for the exact download. If the values differ, do not use that copy. The command is read-only.
A second example using the preserved original command
The following block performs the same read-only operation with a different example path. Replace C:\PATH\Windows11.iso with the real ISO path.
Get-FileHash -Algorithm SHA256 "C:\PATH\Windows11.iso"If two files that are supposed to be identical produce different hashes, stop and determine which copy is correct before creating media.
UEFI and Secure Boot
Windows 11 PCs normally use UEFI firmware and Secure Boot. If the USB does not appear, do not immediately switch the firmware to legacy/CSM mode or permanently disable security features. Recreate the media with Microsoft’s tool, try another port, and check the device manufacturer’s boot-menu instructions first.
Perform a non-destructive boot test
- Leave the internal disk unchanged and insert the USB.
- Open the computer’s one-time boot menu.
- Select the UEFI entry corresponding to the USB drive.
- Wait for Windows Setup to reach the language/keyboard screen.
- Exit the installer before any partitioning operation if your goal is only to test the media.
This verifies that the USB is readable and that the firmware can boot it. It does not guarantee that every device driver will be available during or after installation, so for very new hardware it can be useful to keep the manufacturer’s network or storage driver available separately.
Why a USB may boot on one PC but not another
| Symptom | Likely cause | Safe action |
|---|---|---|
| USB missing from boot menu | Media creation, port, or firmware issue | Recreate with Microsoft’s tool and try another port |
| Secure Boot warning | Nonstandard media or configuration | Use official media before changing security settings |
| Setup starts but no SSD appears | Storage controller driver, RAID/VMD configuration | Check manufacturer support before changing BIOS storage mode |
| File-copy errors | Bad USB or damaged image | Recreate media on another reliable drive |
Do not automate destructive disk preparation
Commands such as diskpart clean are often copied from old tutorials. They can erase the wrong disk if the number is misread and are unnecessary for most users when Microsoft’s media tool works. A graphical workflow that makes the selected USB obvious is the safer default.
Reuse the USB later
When you no longer need installation media, you can reformat the USB through Windows’ normal graphical formatting tools to use it as regular storage again. First make sure you have another recovery method or can recreate the Windows media easily.
How to verify that it works
- The USB appears in the UEFI boot menu.
- Windows Setup reaches its initial screen without an error.
- The internal SSD is visible if you inspect the setup screen, but you do not modify it during a simple test.
- No personal data remains on the USB that you expected to keep.
Common problems and fixes
- Media creation fails: free temporary disk space on the PC, confirm Internet access, and try another known-good USB drive.
- The USB works on only one computer: compare UEFI boot settings and port compatibility instead of rebuilding Windows itself.
- The internal SSD is missing: investigate storage-controller drivers; do not randomly toggle RAID/AHCI/VMD.
- The download looks suspicious: discard it and download again from Microsoft.
Safety and precautions
- Download Windows installation files only from Microsoft for a standard setup.
- Keep unique personal files off the installation USB.
- Do not disable Secure Boot permanently just to make questionable media boot.
- Never use disk-wiping commands unless you have identified the target beyond doubt and have a backup.
Frequently asked questions
Is 8 GB enough?
Microsoft commonly specifies at least 8 GB for installation media. A larger drive provides extra margin.
Can the USB also repair Windows?
Yes. Windows installation media can provide access to recovery options in addition to installing the operating system.
Can I keep personal files on the same USB?
Not during creation. The media tool erases the selected drive, so treat it as dedicated installation media.
Final USB verification before you depend on it
A bootable USB is useful only if the target PC can actually boot it. After the creation tool reports success, safely eject the drive, reconnect it, and verify that expected installer files are visible. Then use the target PC's one-time boot menu and choose the UEFI entry for the USB. Reaching Windows Setup is a stronger test than trusting the imaging application's progress bar.
If the drive is not listed, retry another port, confirm the ISO/source and firmware mode, and recreate the media with Microsoft's current supported tool. Do not switch a modern Windows 11 machine into legacy/CSM mode just to match an old guide. Keep the BitLocker recovery key available before changing firmware or boot configuration.
Final checklist
- USB has no unique data.
- Source is official Microsoft media.
- UEFI boot was tested.
- Secure Boot was not disabled without a documented reason.
- Internal disk was not modified during the test.
- The USB is labeled with the creation date so you know how old the installer is.
Key takeaways
The method: use Microsoft’s media creation workflow, verify the USB visually, then perform a boot test that stops before disk changes.
The key principle: installation media should be easy to recreate; your personal data and internal disks should never be placed at unnecessary risk just to make a bootable USB.
Official sources and references
- Microsoft Support — Official documentation
- Microsoft Support — Official documentation
- Microsoft — Official documentation
- Microsoft Support — Official documentation
Image credits
- Photo 1 — Pexels · Pexels License.
- Photo 2 — Pexels · Pexels License.
- Photo 3 — Pexels · Pexels License.

Commentaires